
Install on Linux (CLI)
Phase 1
To install Syncplify Server! on Linux, we provide a small command-line setup program inside the downloaded tar.gz package.
Once extracted, the contents of the package will look like this:
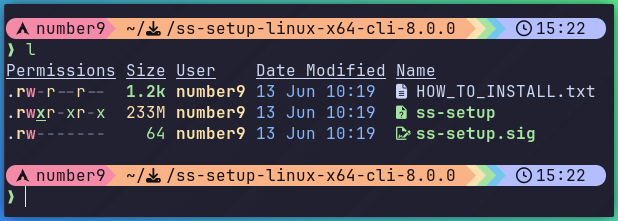
At this point, run the setup CLI (use sudo if you aren't root) with the install parameter and follow the on-screen instructions:
sudo ./ss-setup install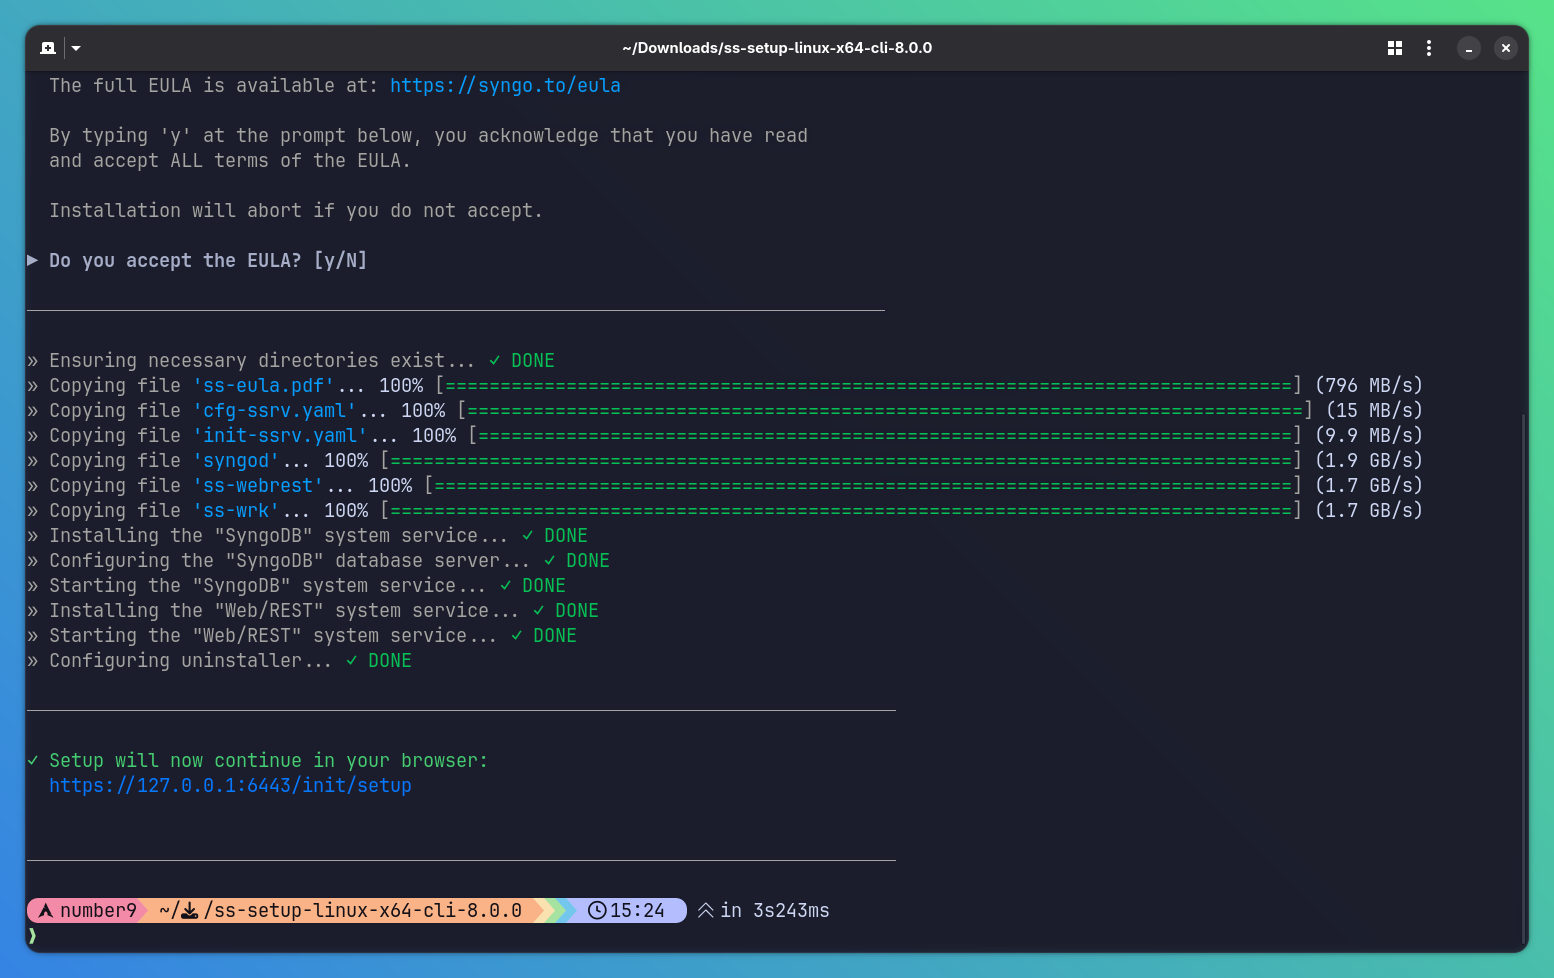
Phase 2
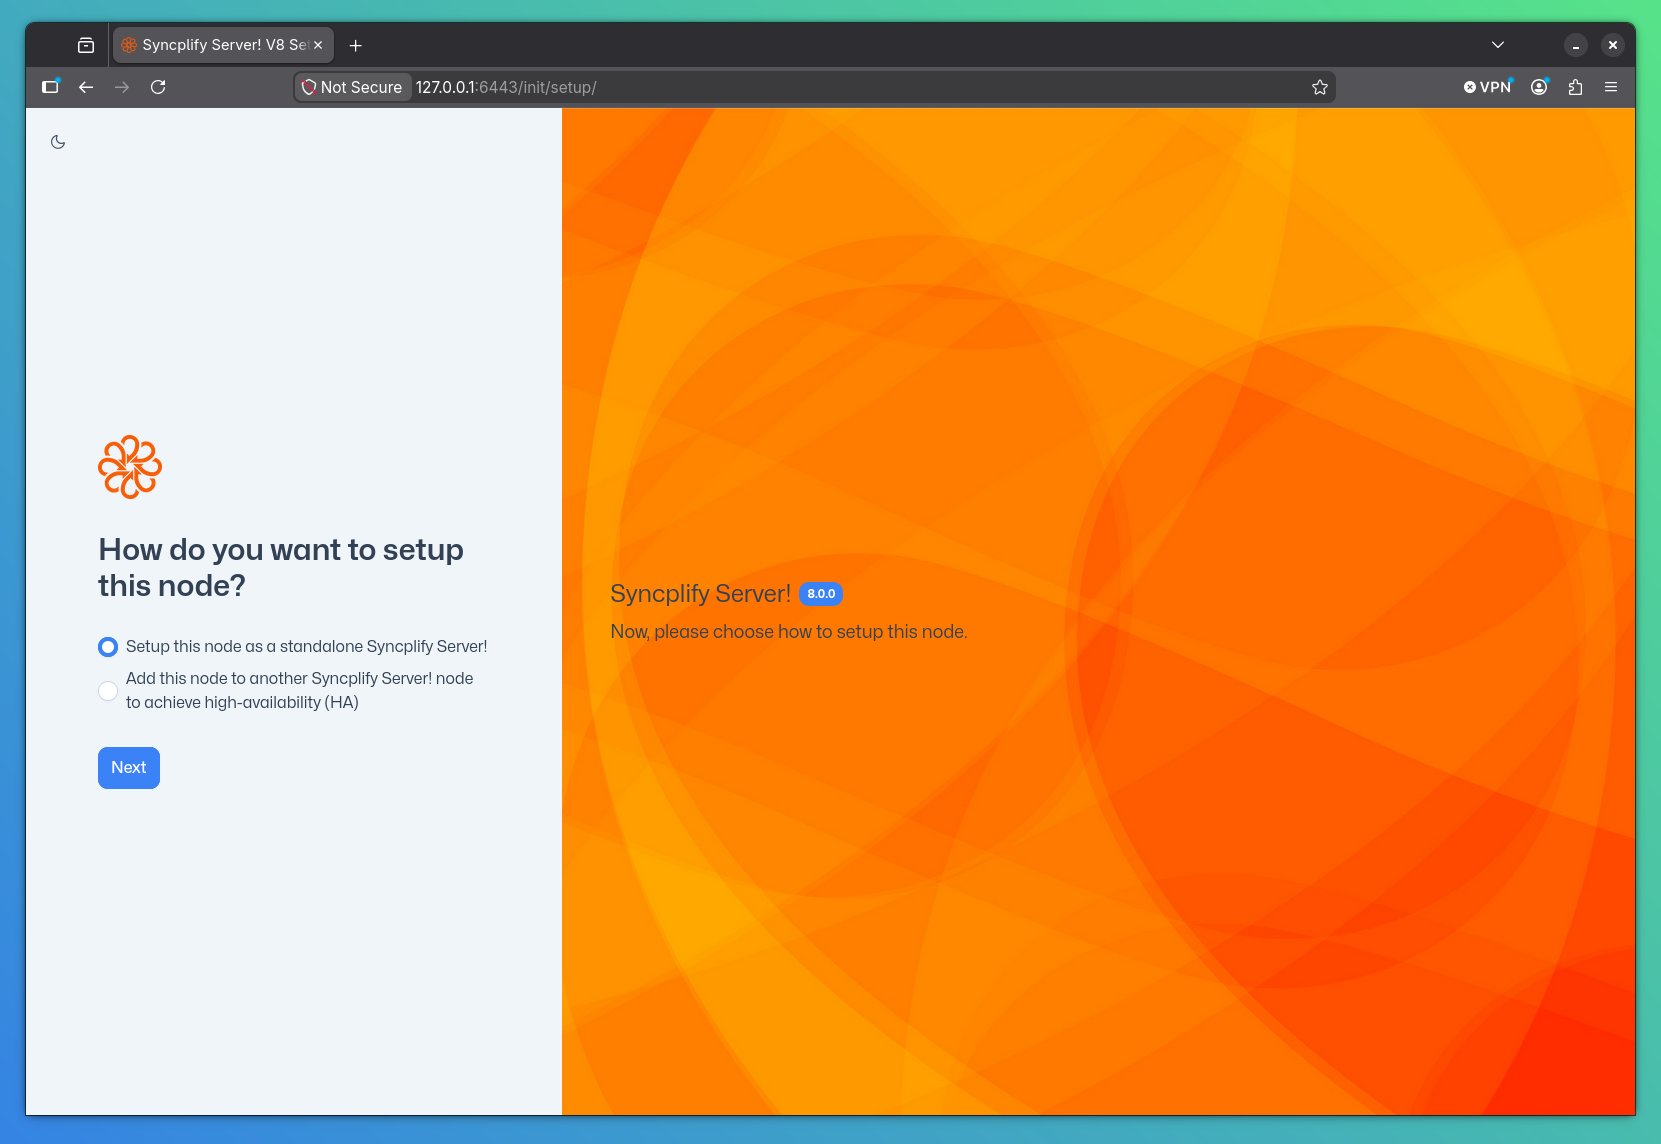
When you click the link or button, your default browser opens (make sure it's not Internet Explorer) and guides you through configuring your Syncplify Server! node and creating your first SuperAdmin profile.
NOTE
If you already have Syncplify Server! v6.0+ installed on your system, running the setup CLI (from the more recent version's package) with the install parameter will automatically update/upgrade your software. From 8.4.0 the update is carried out by the product's own updater (the setup program stages the binaries it carries and hands over): a backup of the configuration database is taken first, the previous version is kept in a rollback slot, and the node is health checked afterwards, exactly as when the server updates itself. The setup program refuses to replace a newer version the server installed on its own; add --allow-downgrade to install the older version deliberately. In a cluster, update one node at a time.
To remove the software, run the same command (now installed as /usr/local/bin/ss-setup) with the uninstall parameter:
sudo ss-setup uninstall