Two-factor authentication
This step belongs to the standalone path. The heading reads "Use 2FA via Google Authenticator". It offers, optionally, to protect the SuperAdmin account with two-factor authentication (2FA) using Google Authenticator. The introduction explains that this is optional, and that if you wish to enable this additional layer of protection you should open your Google Authenticator app on your phone or tablet and scan the QR code shown on this page.
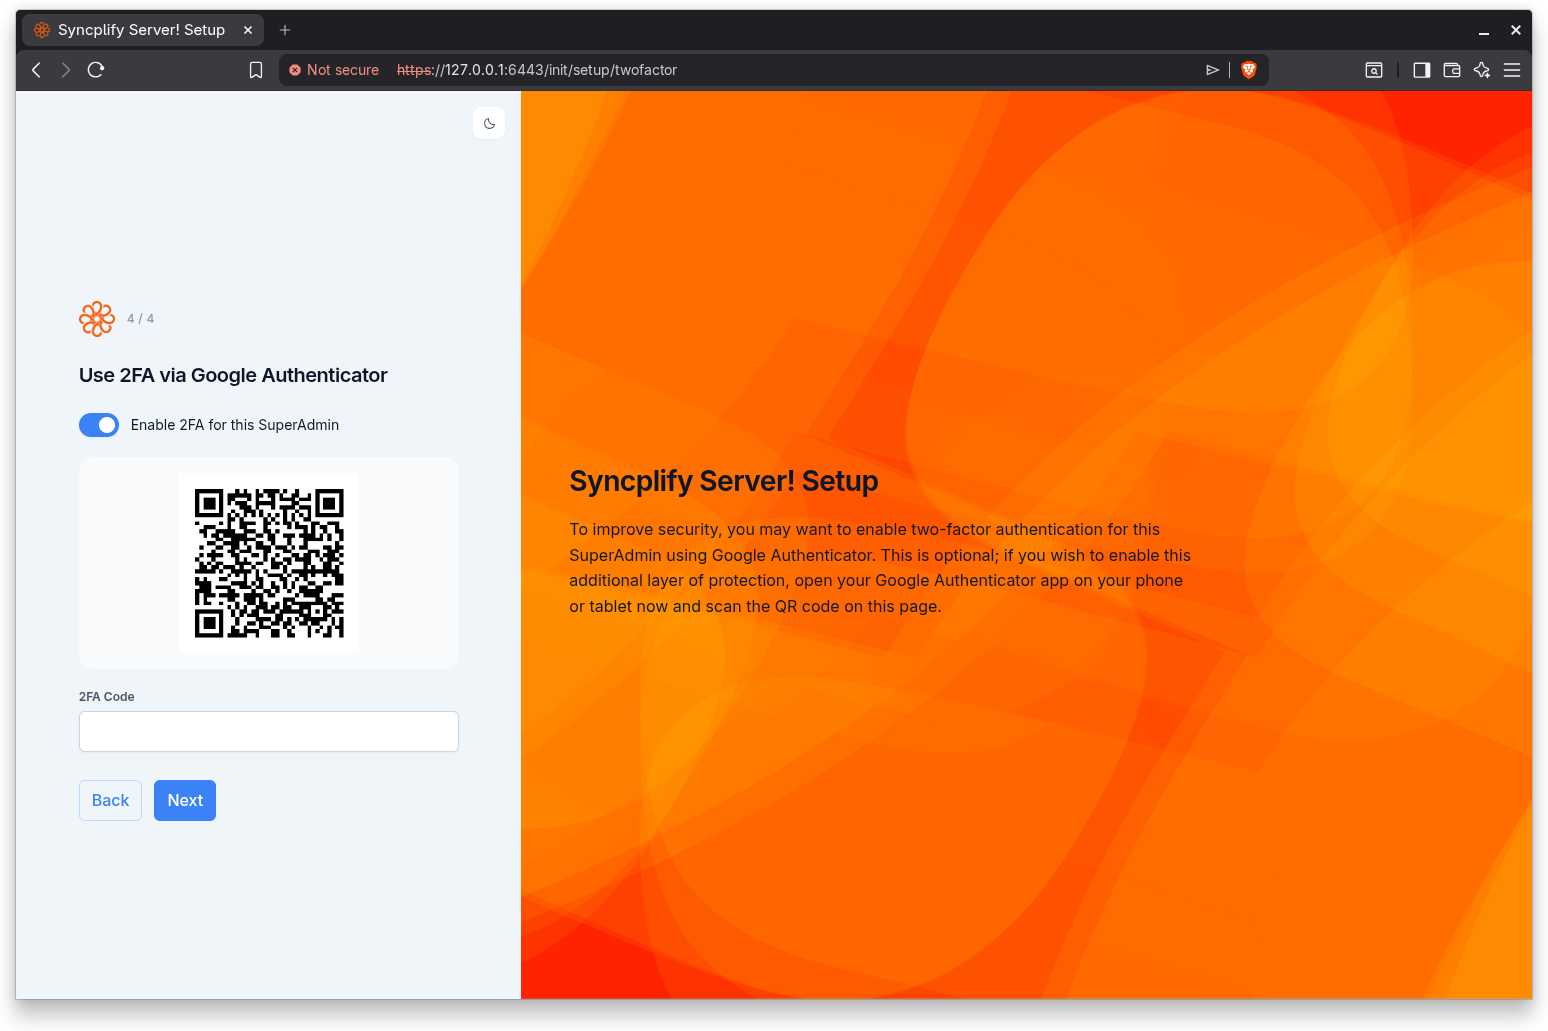
Enabling 2FA
The step starts with a single toggle labeled Enable 2FA for this SuperAdmin, which is off by default. Two-factor authentication is entirely optional at this stage; you can leave it off and turn it on later from the SuperAdmin interface.
When you turn the toggle on, the wizard fetches a fresh secret for this SuperAdmin and reveals two new elements:
- A QR code.
- A 2FA Code field for the verification code.
Scanning the QR code
Open Google Authenticator (or a compatible authenticator app) on your phone or tablet and scan the QR code shown on the page. The app then begins generating time-based one-time codes for this SuperAdmin account.
Verifying the code
To confirm that the authenticator was set up correctly and that the clocks are in sync, enter the current code from your authenticator app into the 2FA Code field. A code is required when 2FA is enabled; if you leave it empty the wizard reports "A code is required". The wizard tests the code against the secret before it commits the account, so that you cannot lock yourself out with a misconfigured authenticator.
Completing this step
Clicking Next commits the SuperAdmin account:
- If 2FA is enabled, the wizard first verifies the code you entered, then creates the SuperAdmin account with Google Authenticator enabled.
- If 2FA is left off, the wizard creates the SuperAdmin account without an authenticator.
Step indicator
This step shows Step 4 of 4.
Continuing
Click Back to return to the SuperAdmin account step, or Next to create the account and proceed to the completion screen.