Setting Up a High Availability (HA) Cluster
This guide walks you through adding a Syncplify Server! node to an existing HA cluster, or creating a new two node cluster from two standalone installations.
Prerequisites
Before you begin:
- Two (or more) Syncplify Server! instances must be installed and running. Each must have completed the initial standalone setup.
- Network connectivity: Each node must be able to reach the other's IPC endpoint over HTTPS. The IPC port is configured during initial setup (default varies by installation).
- Same version: All nodes must be running the same major version of Syncplify Server!.
- Synchronized clocks: Ensure NTP is configured on all nodes. The join process will reject nodes with excessive clock drift.
- SuperAdmin credentials: You need valid SuperAdmin credentials for the node you are joining to.
Step by Step: Joining a Cluster
Open the Setup UI
As part of the installation/deployment, open a web browser and navigate to the Setup UI of the node you want to add to the cluster. The exact address is provided to you at the end of the CLI/GUI portion of the installation. It will look something like this:
https://127.0.0.1:6443/init/setupor
https://<your-hostname-or-ip>:6443/init/setup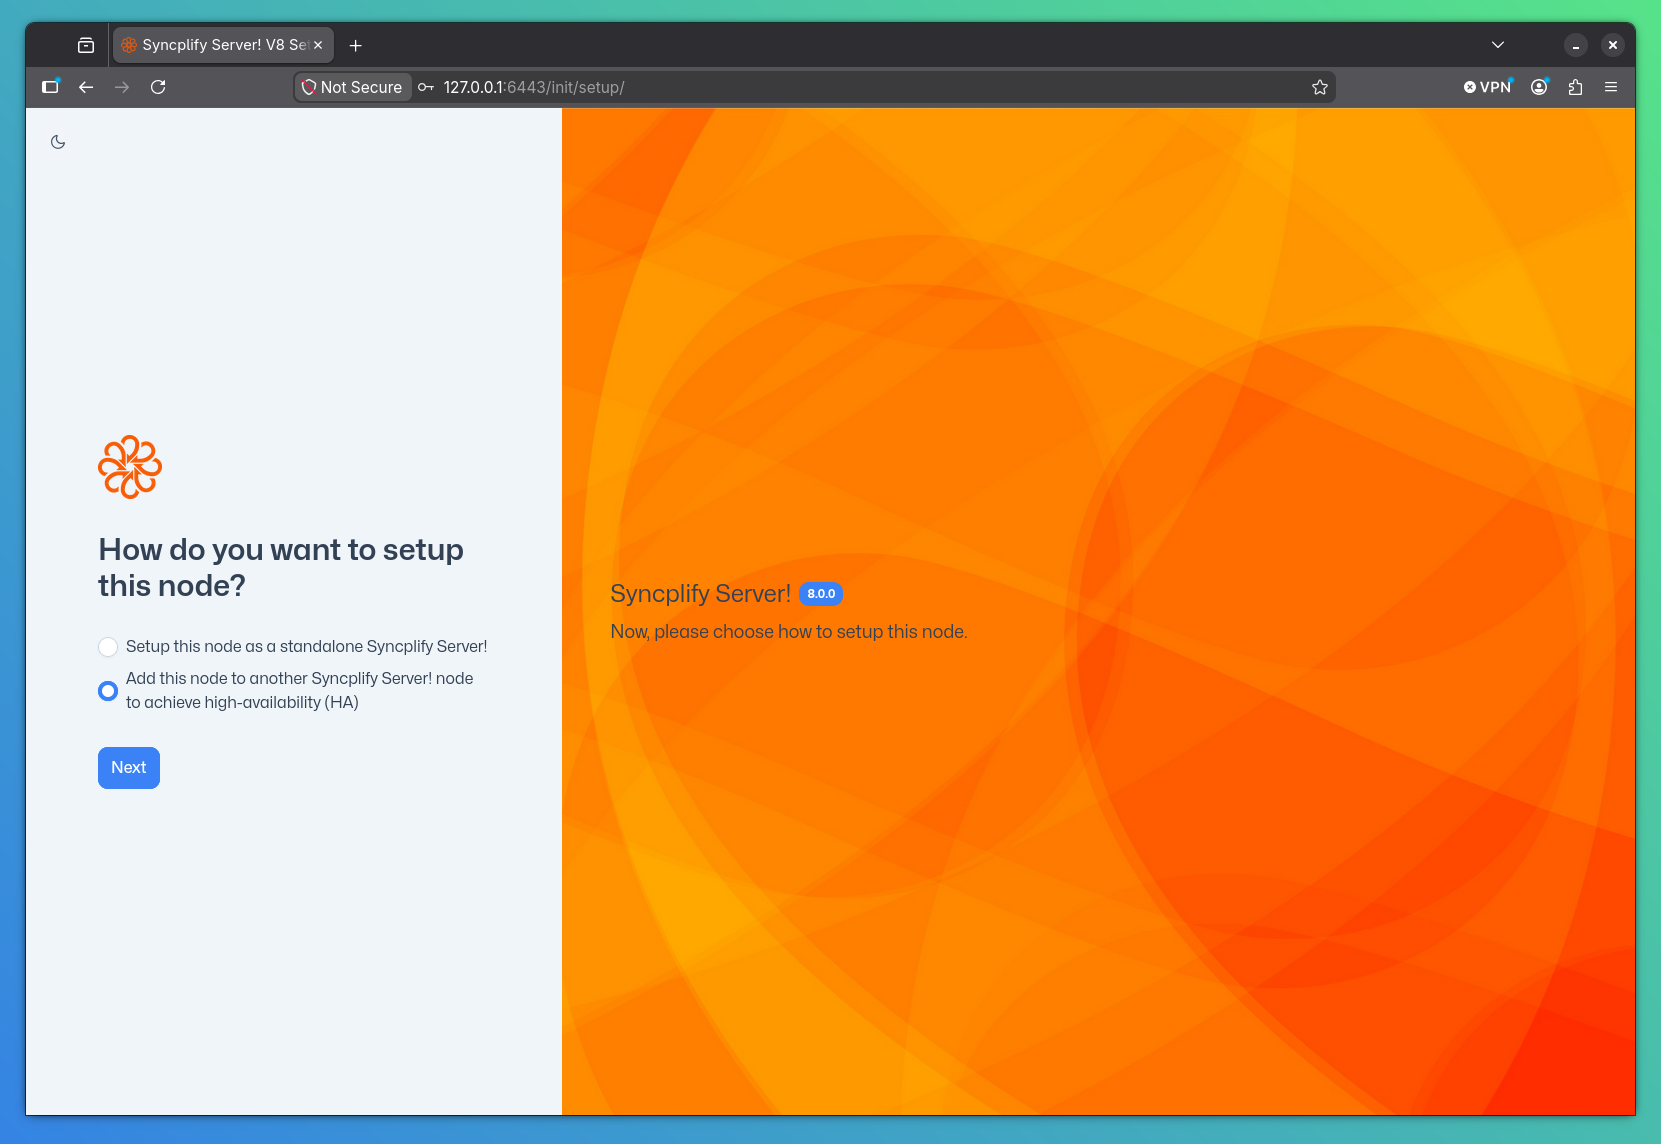
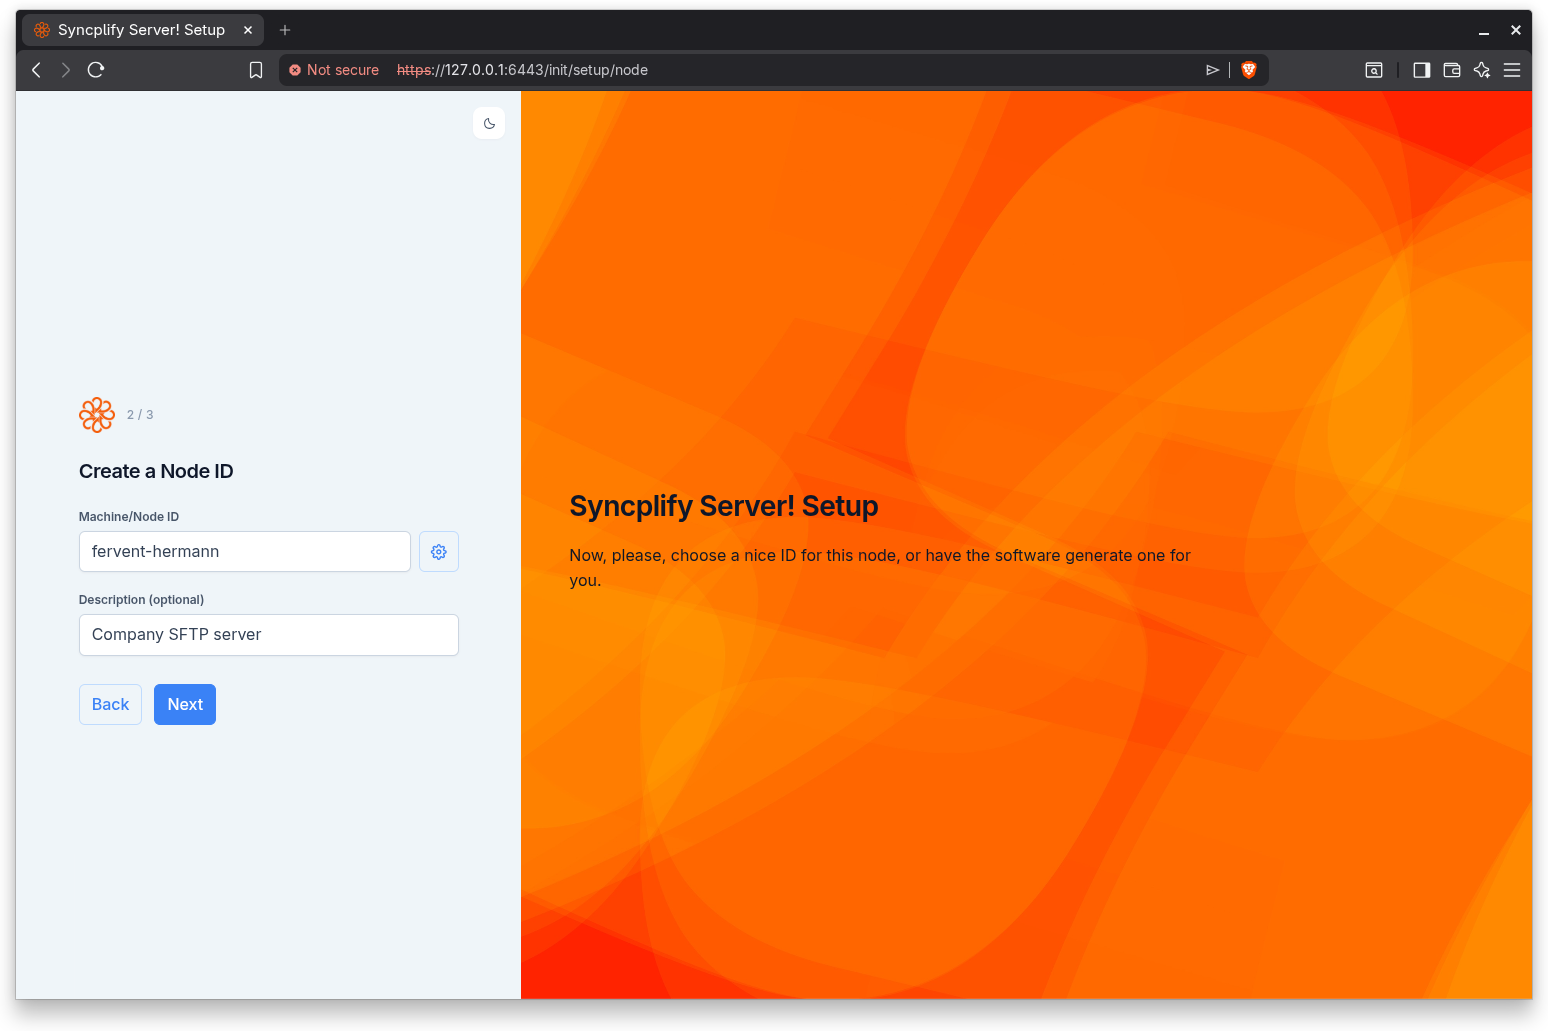
Step 1: Set a node ID
On the HA configuration page, provide a unique ID for the node you are adding to the cluster. This ID will be used to identify the node within the cluster. You may also provide an optional description to help identify the node.
Please note that a node ID can only contain lowercase letters, numbers, hyphens, and underscores. No other characters are allowed in the node ID. If you're unsure, you may simply click the small "gear" button and the software will automatically generate a valid node ID for you.
Step 2: Enter the Peer Address
On the HA configuration page, enter the host and port of an existing node in the cluster. Use the format:
hostname:portor
ip-address:port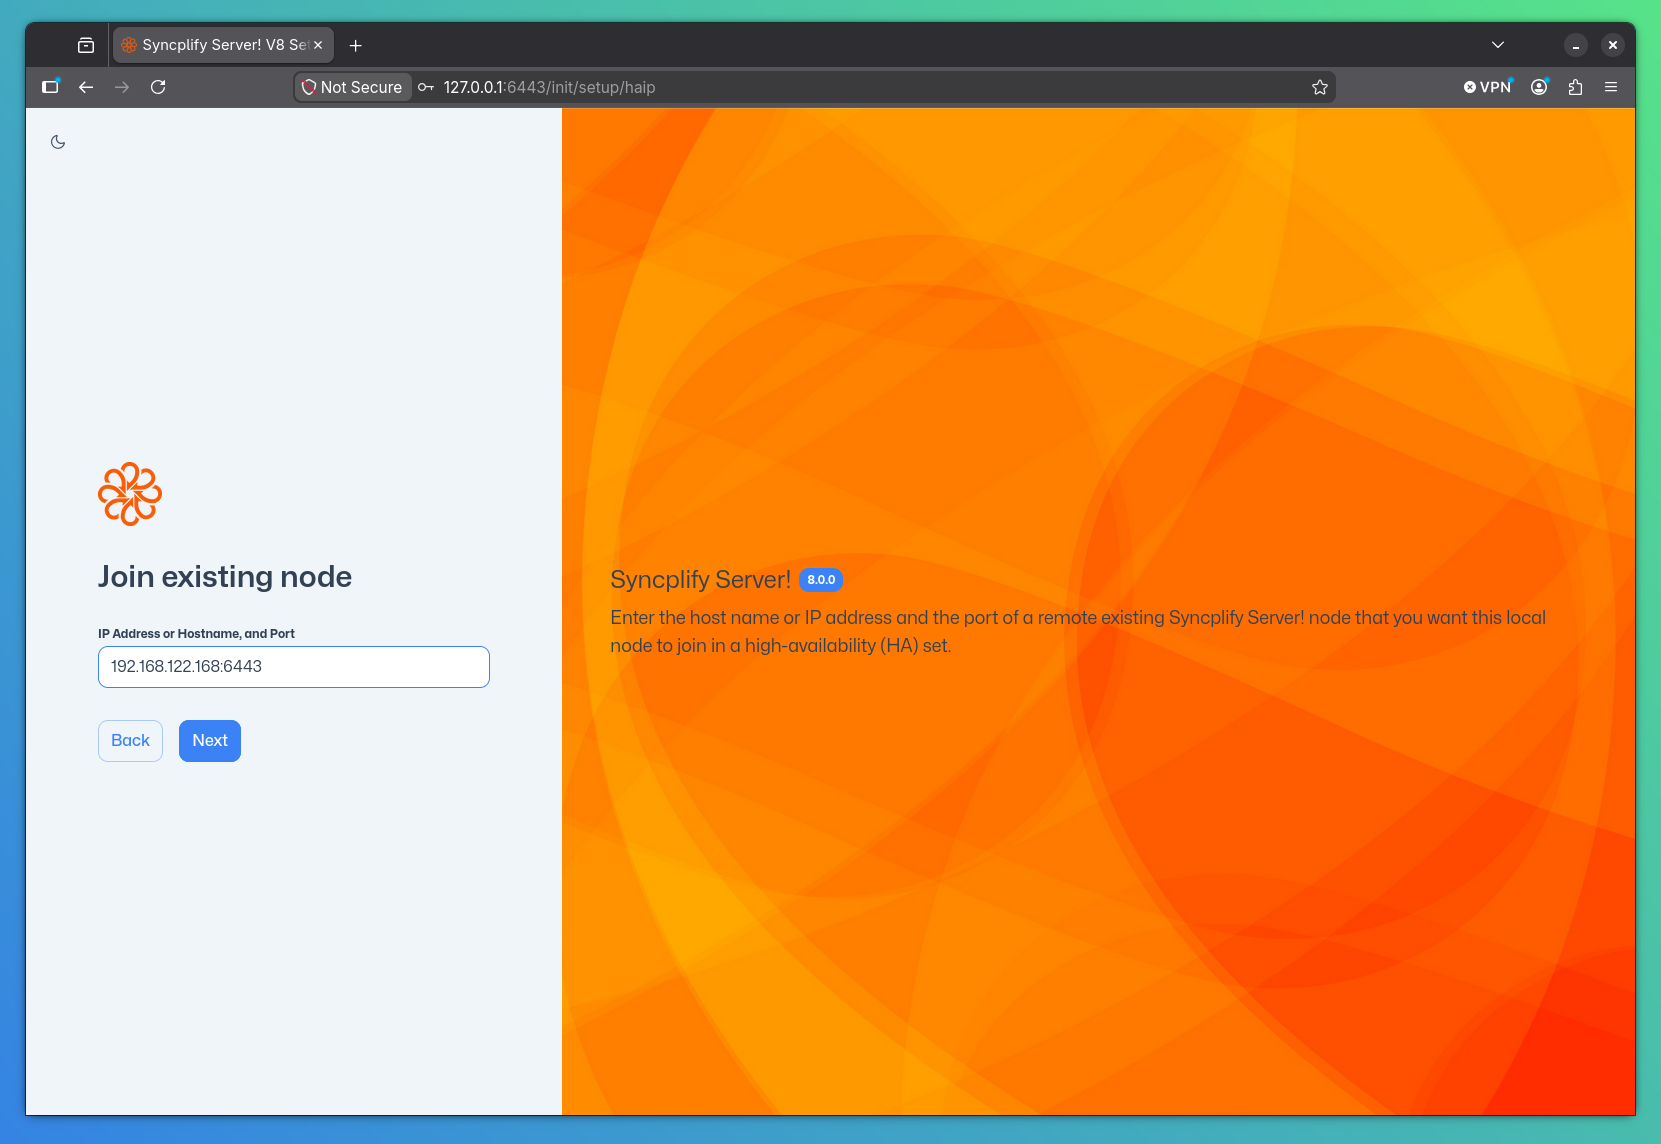
The port must be the IPC port of the target node, by default this is 6443.
NOTE
The Setup UI validates the host:port format before proceeding. The port must be between 1 and 65535.
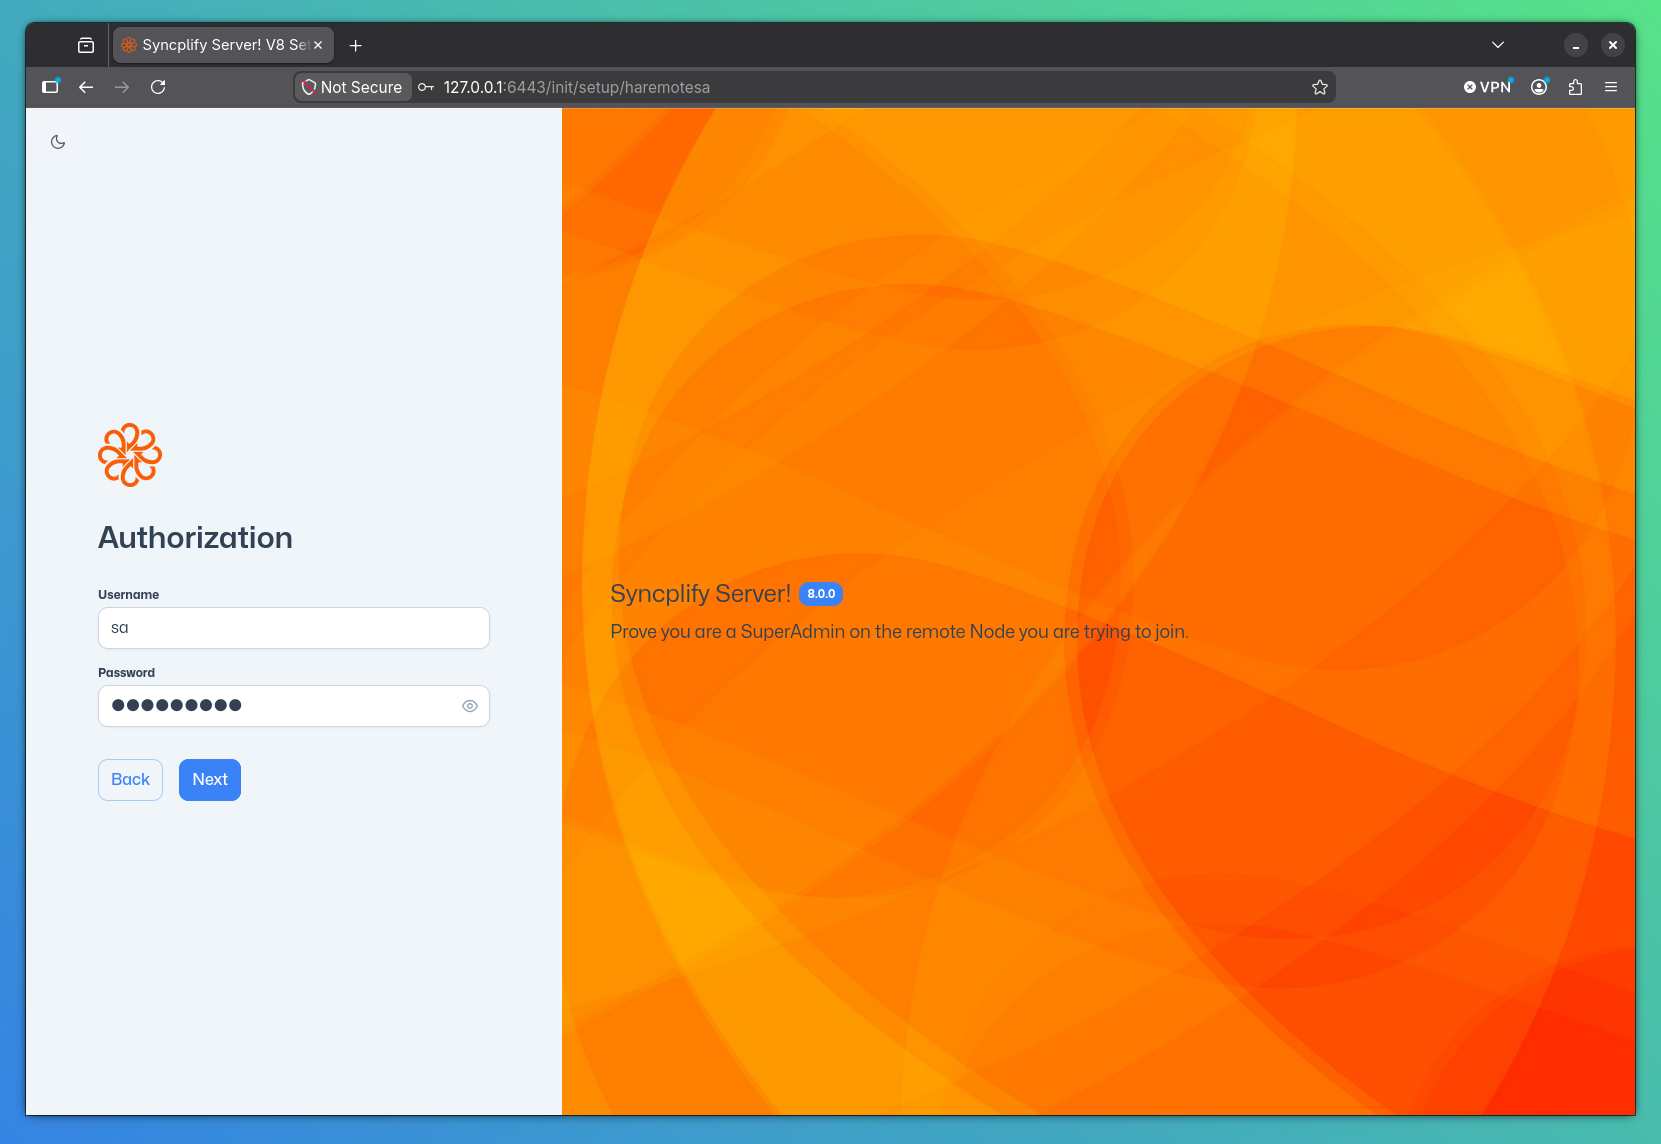
Step 3: Authenticate with SuperAdmin Credentials
Enter the SuperAdmin username and password for the target node. These credentials are used to authorize the join request and establish the replication link.
The join process performs several checks:
- Reachability: Verifies that the target node is reachable over the network
- Version compatibility: Ensures both nodes are running compatible versions
- Clock drift: Checks that the time difference between nodes is within acceptable limits
- Conflict detection: Verifies the joining node is not already part of a different cluster

If any check fails, the Setup UI displays a specific error message:
| Error | Meaning |
|---|---|
| Unreachable | The target node could not be contacted. Check network connectivity and firewall rules. |
| Version mismatch | The nodes are running different major versions. Update both to the same version before retrying. |
| Clock drift | The system clocks differ too much. Synchronize clocks using NTP and retry. |
| Already in cluster | This node is already part of a cluster. Leave the current cluster first. |
If everything checks out, the join request is accepted, and the node becomes part of the cluster, and you will be automatically redirected to the SuperAdmin UI login page.

Step 4: Verify the Cluster
After a successful join, the SuperAdmin UI will now have an extra page showing the cluster status:
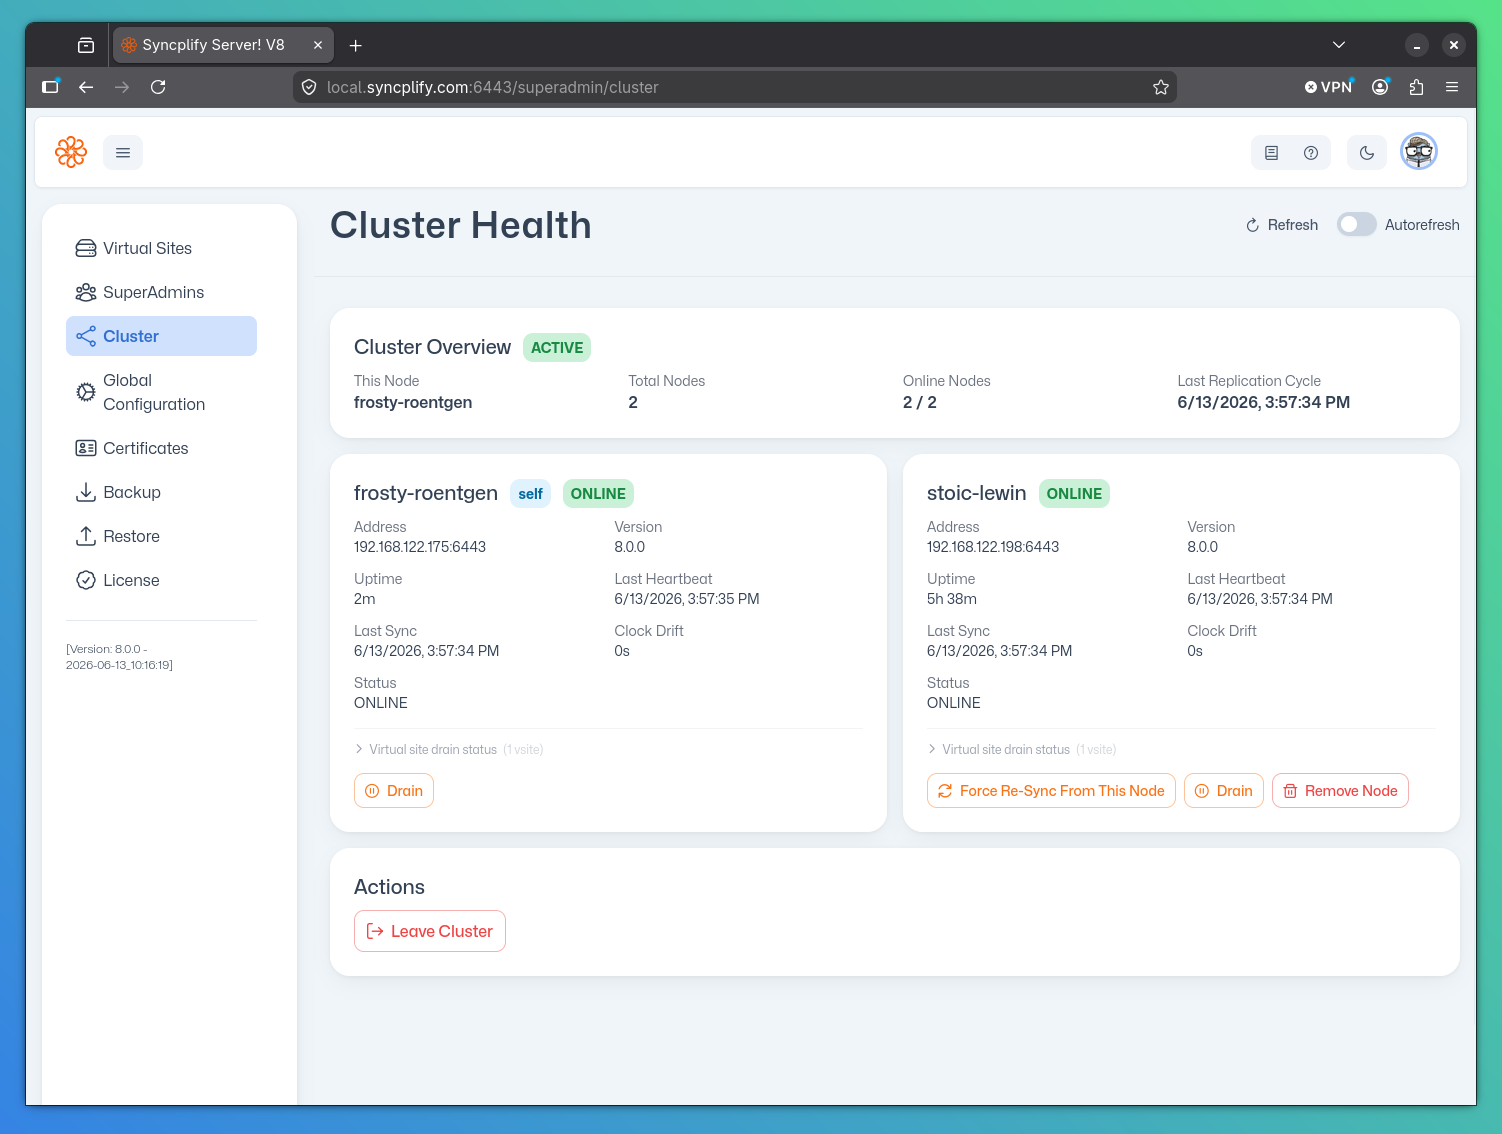
The new node immediately begins receiving replicated data from its peers. The initial synchronization may take a moment depending on the size of the configuration.
Leaving a Cluster
A node can leave the cluster through the SuperAdmin UI (see Cluster Health). After leaving:
- The node becomes a standalone server
- It retains a copy of the data it had at the time of departure
- It no longer sends or receives replication updates
- Other nodes in the cluster remove it from their peer list
WARNING
Leaving a cluster is a significant operation. The node will no longer be kept in sync with the other nodes. Ensure this is the intended outcome before proceeding.