Install on Windows
IMPORTANT
These instructions are for installing a fresh Syncplify Server! v7.x or upgrading from any Syncplify Server! v6.0+. If you're trying to upgrade from older versions (v4.x or v5.x), please refer to this knowledge base article instead.
After downloading the GUI installer for Windows, deploying Syncplify Server! on your machine or VM is a simple, two-phase, guided process.
Phase 1
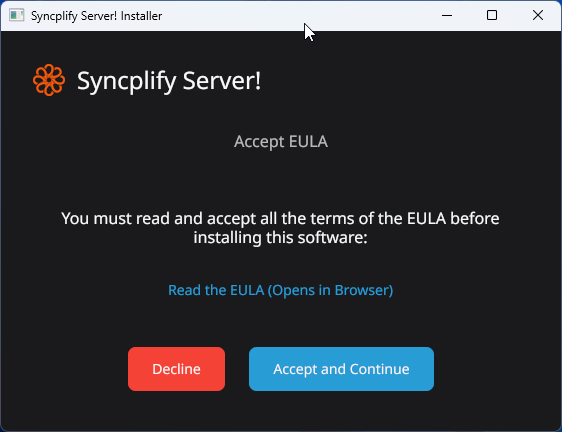
Double-click the installer, accept the EULA, and let it copy all necessary files to your system. This phase also automatically adjusts your system configuration and creates all necessary Windows Firewall rules.
This first phase is fully automatic. Once complete, it presents a summary like the one below (or similar, depending on your version):
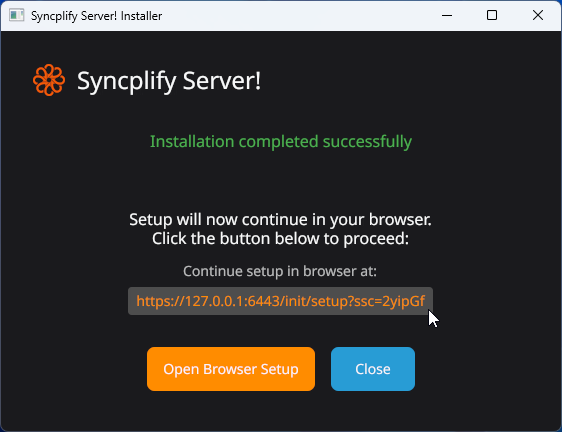
At this point, click the provided URL (or the orange button below it) to begin the second phase of setup in your browser.
WARNING
You can use almost any browser, except for Internet Explorer.
Phase 2
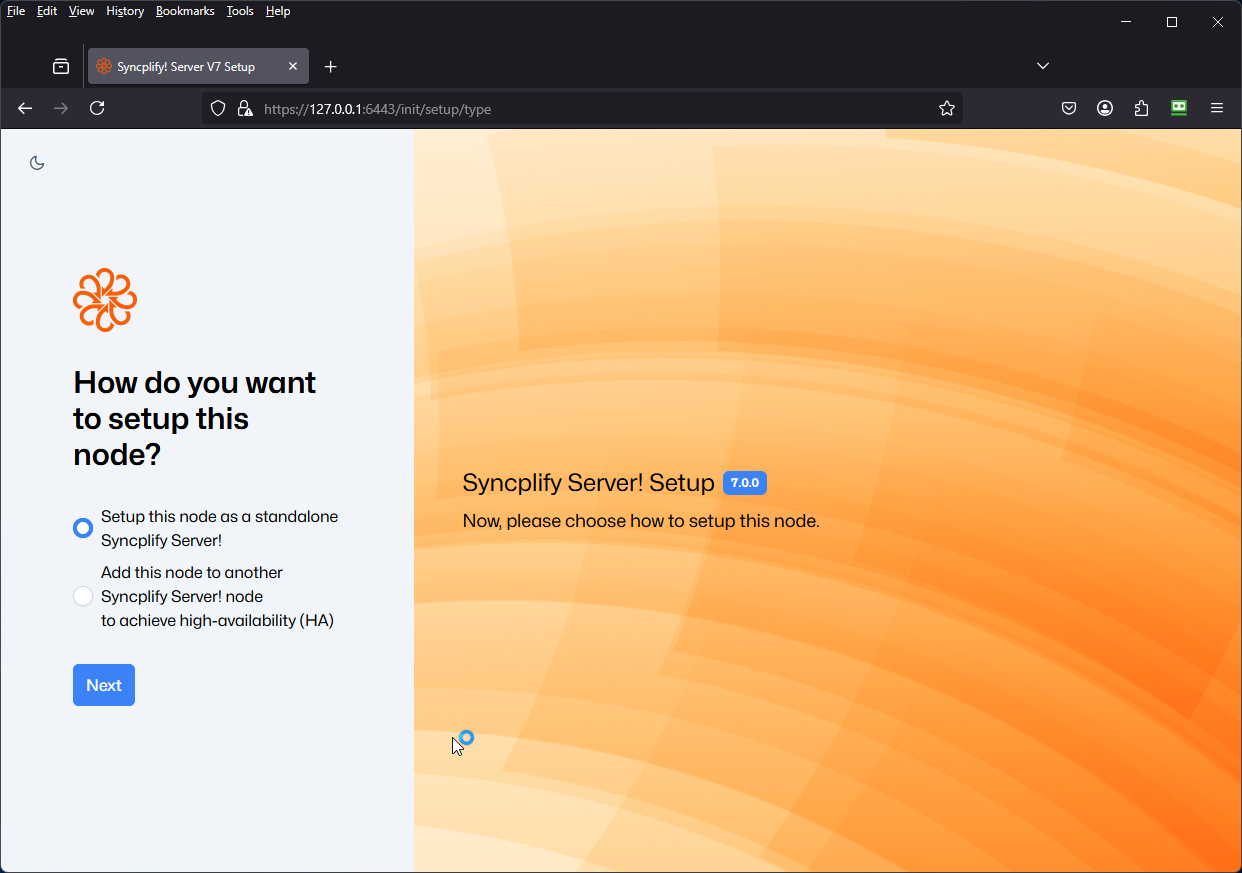
When you click the link or button, your default browser opens (make sure it's not Internet Explorer) and guides you through configuring your Syncplify Server! node and creating your first SuperAdmin profile.
IMPORTANT
The first time you access the web service, it uses a self-signed certificate and you will connect via its IP address rather than a hostname. For these reasons, your browser will display a security warning. You can safely accept this warning and proceed. You can install a trusted CA-issued certificate later.